    |
| The start of the modelling process. I modeled half of my characters face through extruding one plane edge by edge. |

 |
| I then duplicated that half, changed it's x-orientation, and merged it's vertices to create a finished head. I also used the hyper-shader to plan out my character's colors. |

 |
| I then modeled the hair and the eyebrows. |
 |
| Back view of the head/hair after modelling. |
 |
| I then modeled the body. |
 |
| The back view of my character during the modeling process. |
 |
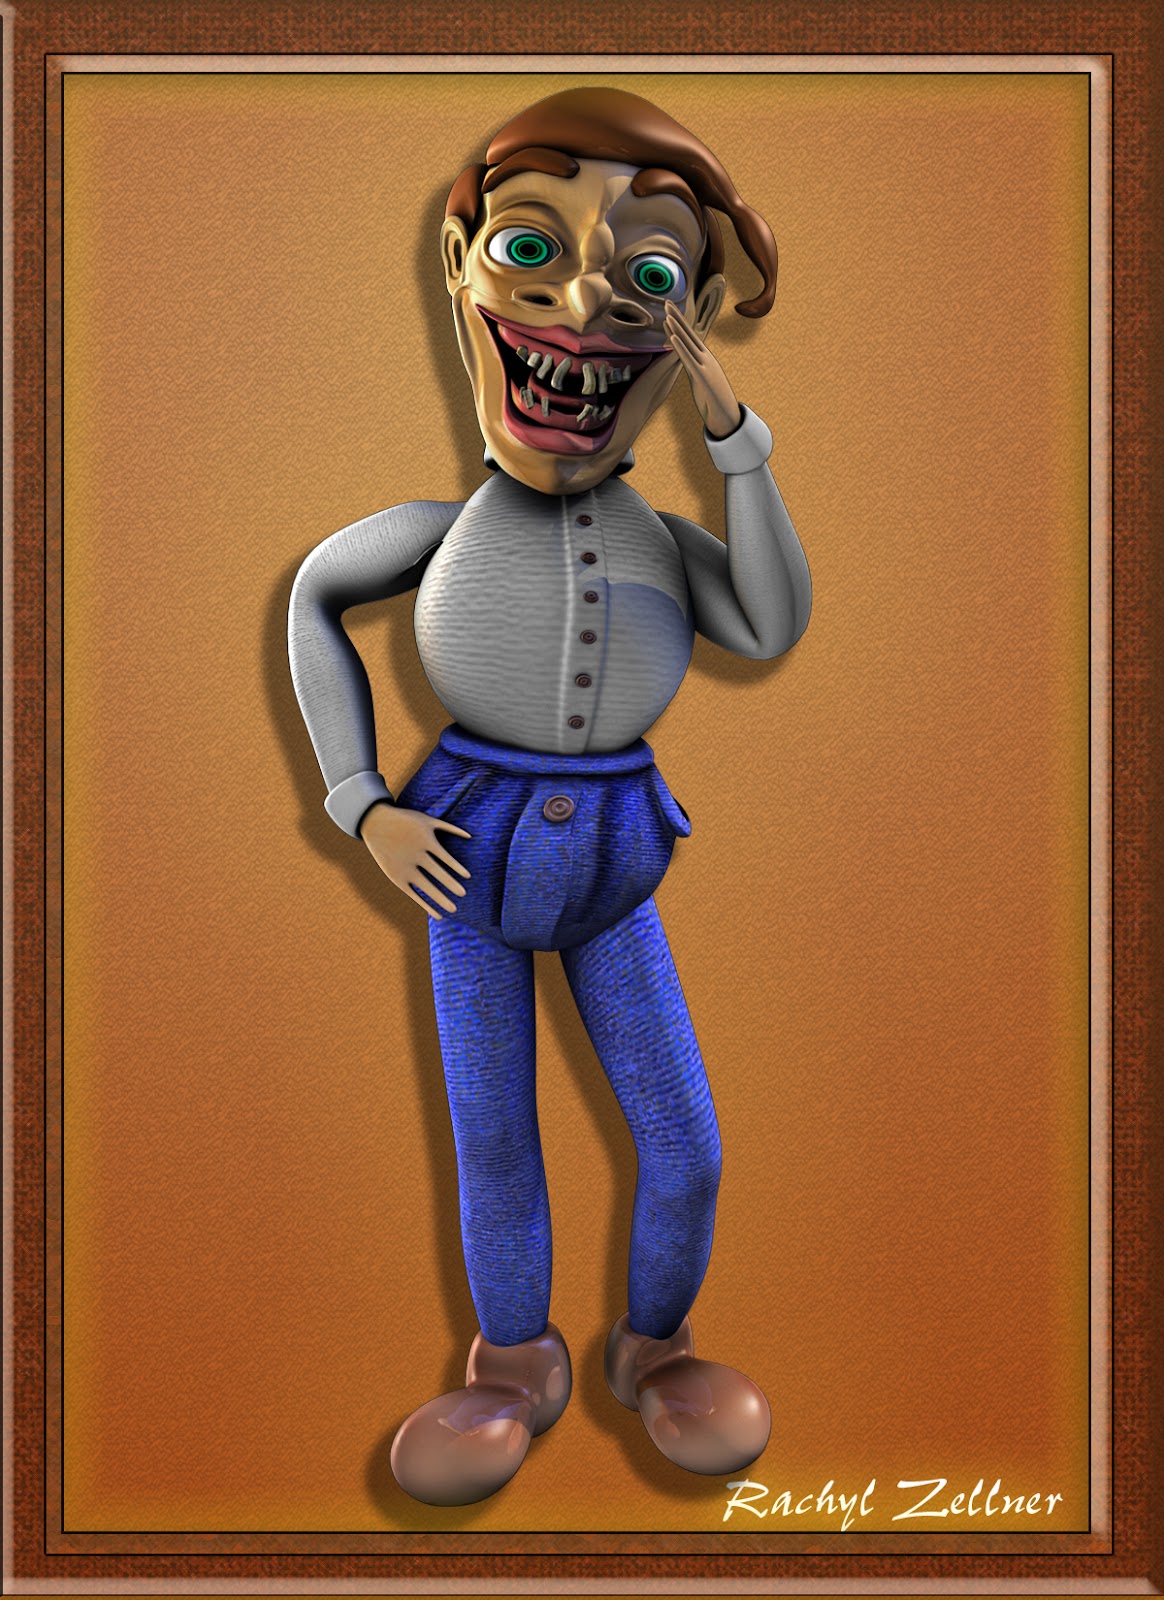
| I UV unwrapped almost every part of my character (including the face, hair, eyebrows, teeth, upper body, arms, hands, pelvis, legs and shoes.) I then textured the UV snapshots in Photoshop and applied them to my character with hyper-shader in Maya. |
 |
| UV textures applied. |
 |
| Ambient occlusion render (with the multiply effect applied) overlaid ontop of the mental ray render. *1st trial/test with the lighting before I posed my character. |
 | |
|
 |
| *color variation #2 |
No comments:
Post a Comment